
I Got a Digital Perm in NYC: Was it Worth It?
As someone with a stick straight East Asian hair type that absolutely has no natural texture, I have always dreamed of waking up with soft waves, effortless volume, and natural curls. For years, I wanted that natural-looking curl that did not require a curling iron every single morning. Unfortunately, that kind of transformation does not happen overnight. Lucky for us, that is where the digital perm comes in!
Over the past few years, digital perms have become incredibly popular in the Asian beauty community, especially for those of us with straight, resistant hair texture that struggles to hold a curl. Surprisingly, even though I have dyed my hair more colors than I can count and even went bleach blonde at one point, getting a perm felt scarier. There is something about chemically changing your hair’s structure that feels much more permanent. But after researching digital perms for Asian hair and learning how the process works, I decided it was finally time to commit!
I'm here to share everything I can from my journey. So let's lock in and chat all things perm!
What Kind of Perm Do I Get?
I truly believe that if you're looking to get an Asian style treatment for your hair, you need Asian people to do it. That's why I headed to 봄 B[o]m Hair Salon in Chelsea, New York City! I had gotten this location recommended to me by my Korean hair stylist, and I was so excited to go. I booked my appointment online and was able to find an appointment for just the week after. Some other places I have been recommended are Hayato Salon and Maison de MI!
Cost Breakdown
I'm not going to lie, this perm is an investment. The way I justified the price was that I was paying for the technique and years of experience, and my hair not completely dying and falling out. I ended up going for the digital perm AND the root perm, just to give it an extra lift. Together the price is $528, but if you pay in cash, you get a tiny, tiny discount! Again, I'm not hiding that the price is astronomical.
First Perm Breakdown
I came into my first perm appointment assuming this would be my very first and last appointment at 봄 B[o]m Hair Salon. I kind of assumed that because the majority of their clientele had super straight hair conditions, they would be able to produce long-lasting results immediately. Spoiler: I was very wrong.
When I sat down in the chair the first time around, I showed them my inspo pics! I was looking for medium curls that were bouncy. I had pretty long hair, so they did a short haircut before starting the chemical process for the digital perm.

Then, they started to put the chemicals in my hair. This took the most time! They put a shield over my eyes to make sure it didn't irritate any sensitive areas, and they were diligent about combing the chemical treatment through my hair. Then they covered my hair in some sort of saran wrap, and put me under a machine that rotated and produced heat! I think this was to activate the chemicals in my hair, but honestly, I was just vibing out.

After this step, we worked on creating a root perm. If you're like me, you'll have zero to very little volume in your roots. They recommended I do this as well as the digital perm to help with the volume of the new curls I was getting! Personally, I loved having a root perm (and honestly would go back just for one if they didn't grow out so strangely lol).

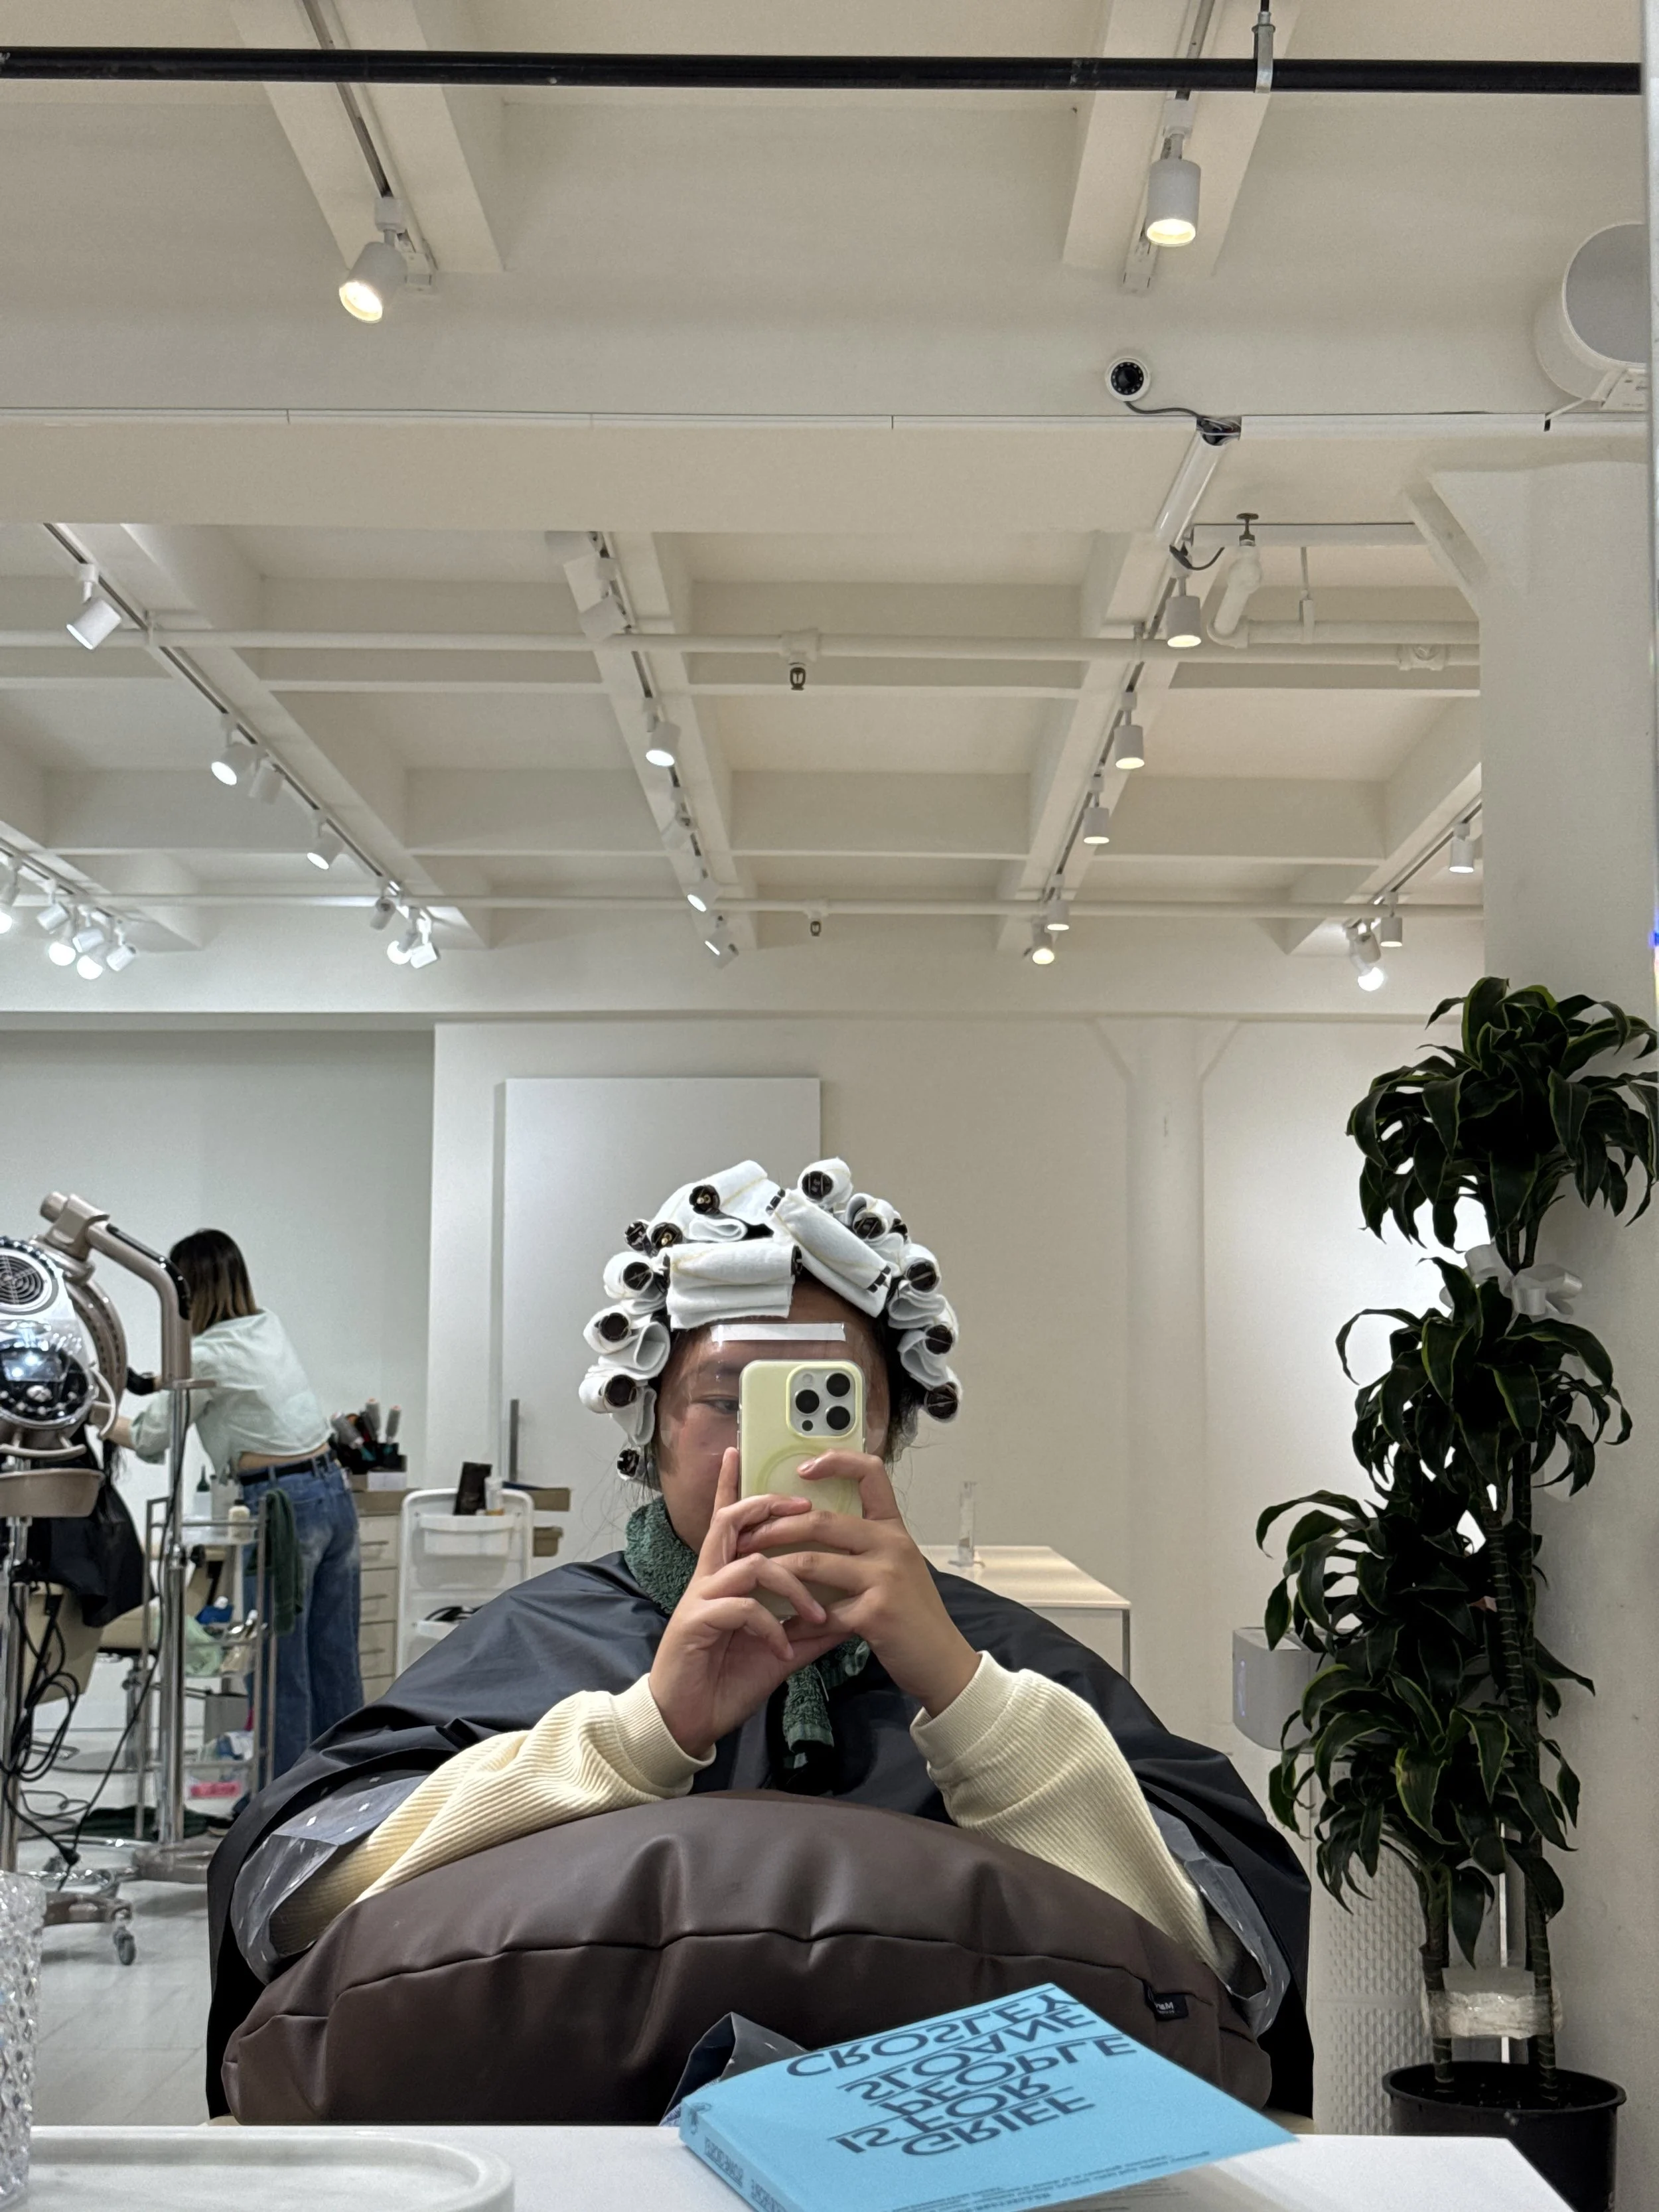
From there, my hair girl and her assistant started putting all the rolls on my head. Since I didn't have short hair, this took a minute to make sure that each piece of hair was properly rolled for the best results possible. The thing about the digital perm is that after all the hair is wrapped up, they start clipping it to a perm machine. It feels like you're getting plugged in! This whole part of the process was extremely relaxing, and I was mostly just excited to see the results.

After about 30 minutes connected to the machine, the reveal is honestly the scariest moment of the whole appointment. Your hair comes out looking like a colonial-era British judge's wig. Do not panic. What sets a digital perm apart from a traditional perm is that they wash your hair immediately after the machine disconnects, which is what transforms those tight, alarming curls into soft, natural-looking waves.

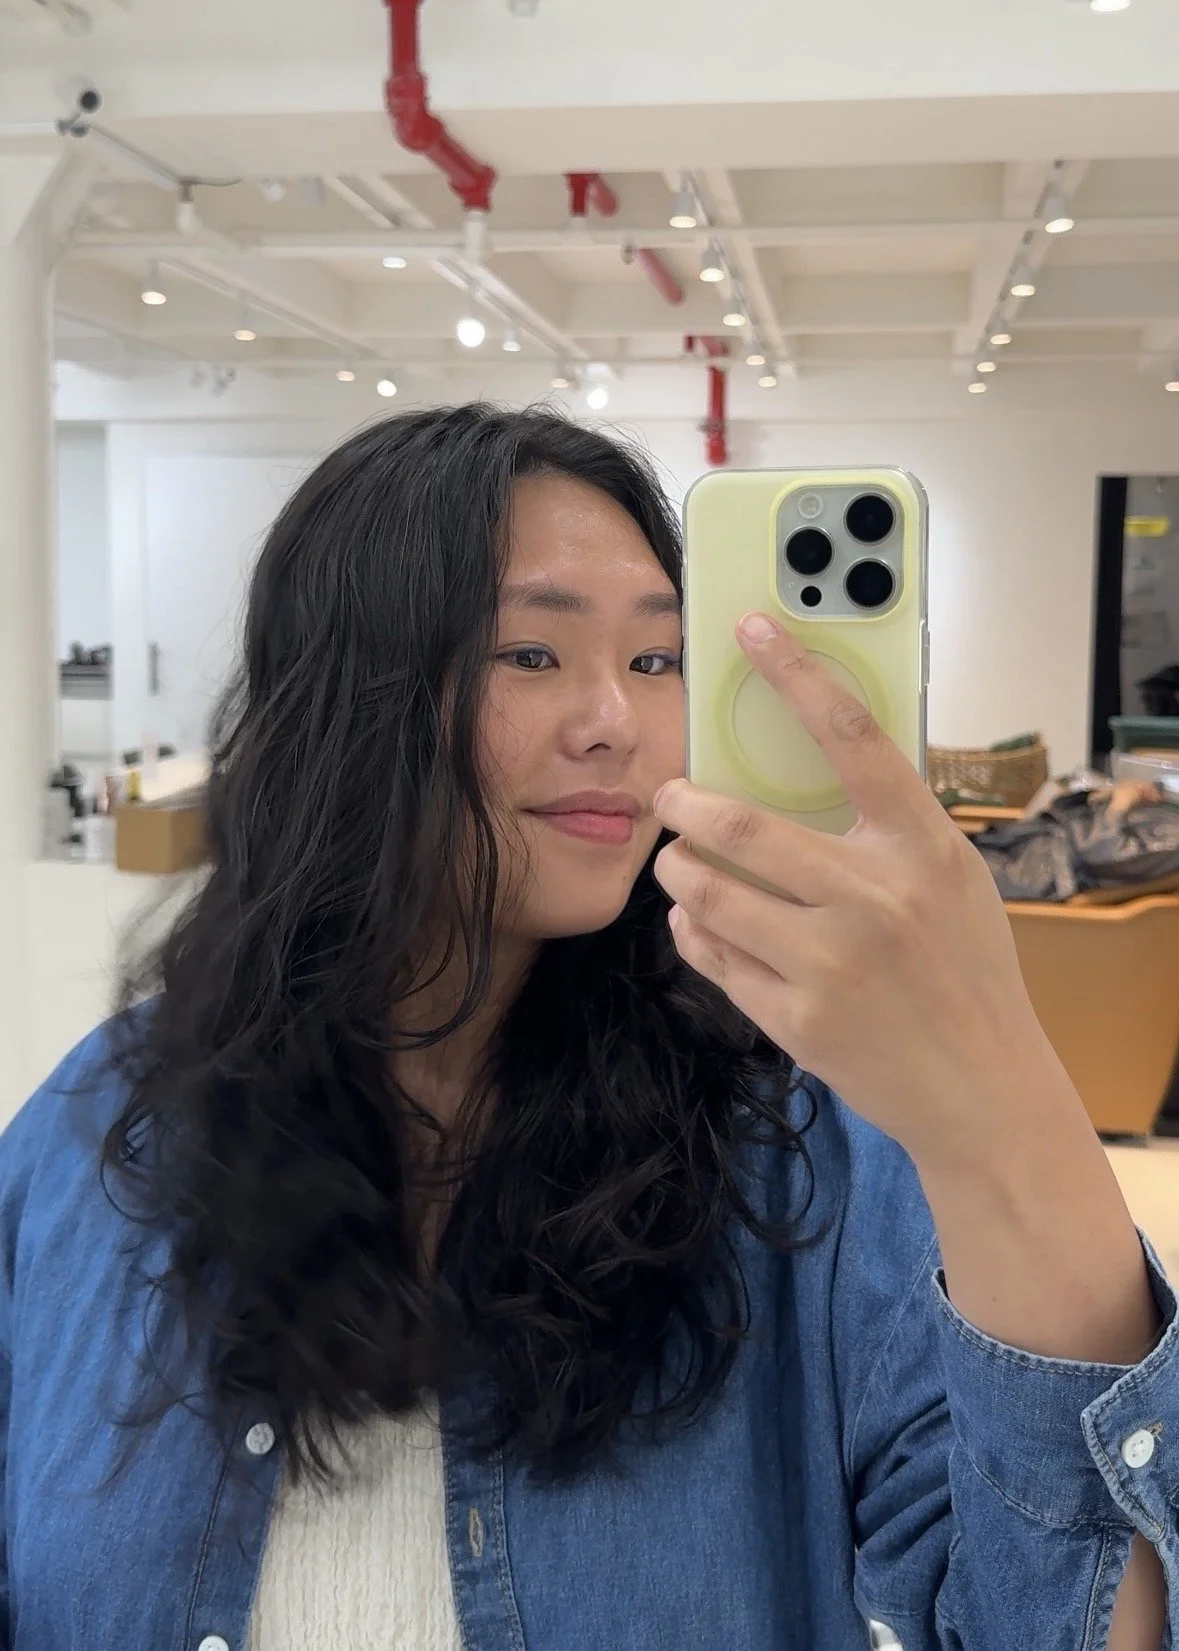
I walked out of the salon looking like this! While I do think it's cute, it's not exactly what I was hoping for. As you can tell from the pictures, this single process digital perm did a better job perming the bottom of my hair compared to the top.
SecondPerm Breakdown
I kept in contact with my stylist, Lily, from 봄 B[o]m Hair Salon for the next couple of days, monitoring the way my hair looked. I really wasn't thrilled about the way it looked, like only the bottom of my hair was curled, so I ended up going back about a week later (free of charge!) to fix it. They focused more on the upper part of my hair, repeating the same process as above.
I'm not going to lie, I was terrified about damaging my hair even further. But thanks to the way the digital perm works, it was totally fine to perm sections again with minimal damage to my hair. I ended up much happier with the results!

Third Perm Breakdown
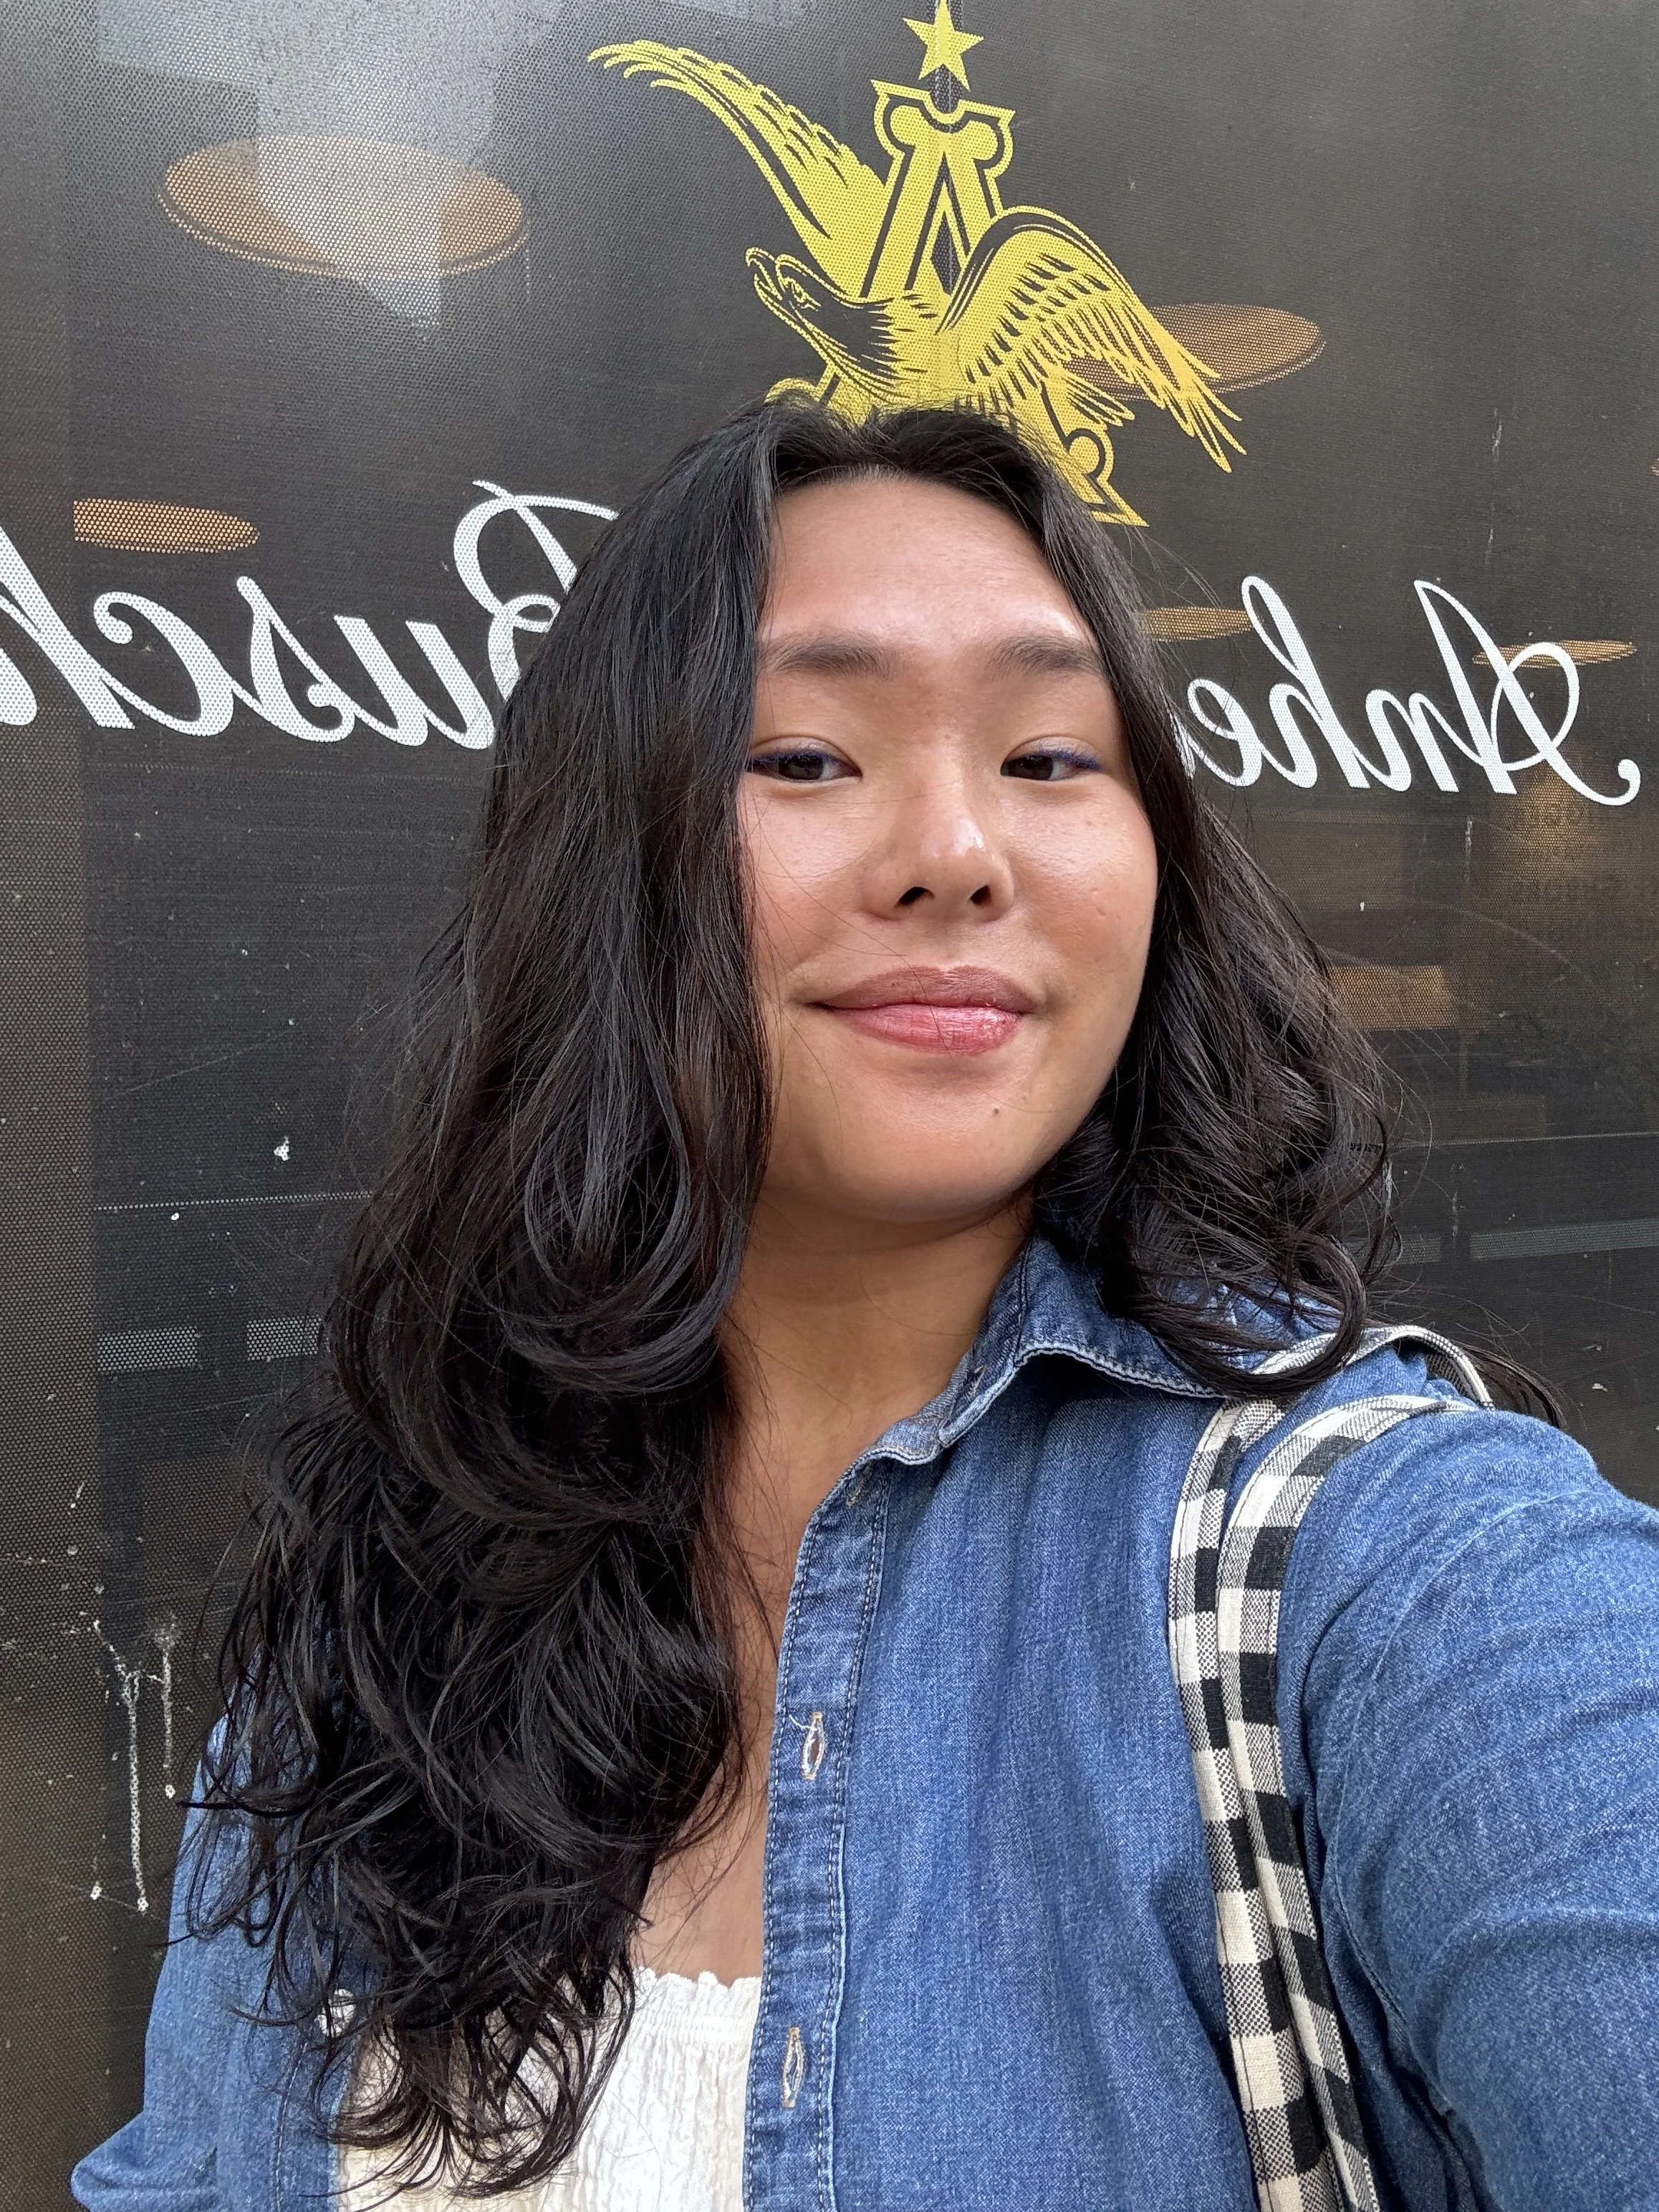
As I watched my hair start to chill out and really settle into the perm, I waited three more months until I decided I wanted one more fix to the hair. It was leaning WAY more wavy than it was curly, and for some reason, I was really trying to channel debut Taylor Swift from 2006. I went back one last time (again, free of charge!), and was able to work with my stylist to get the exact hair look I was looking for.
We repeated the whole process, and I left with the curliest, bounciest curls possible. I loved it so much! Here is the before (three-month-old perm and I look insanely busted hahaha sorry) and after (fresh perm).

One Year Later
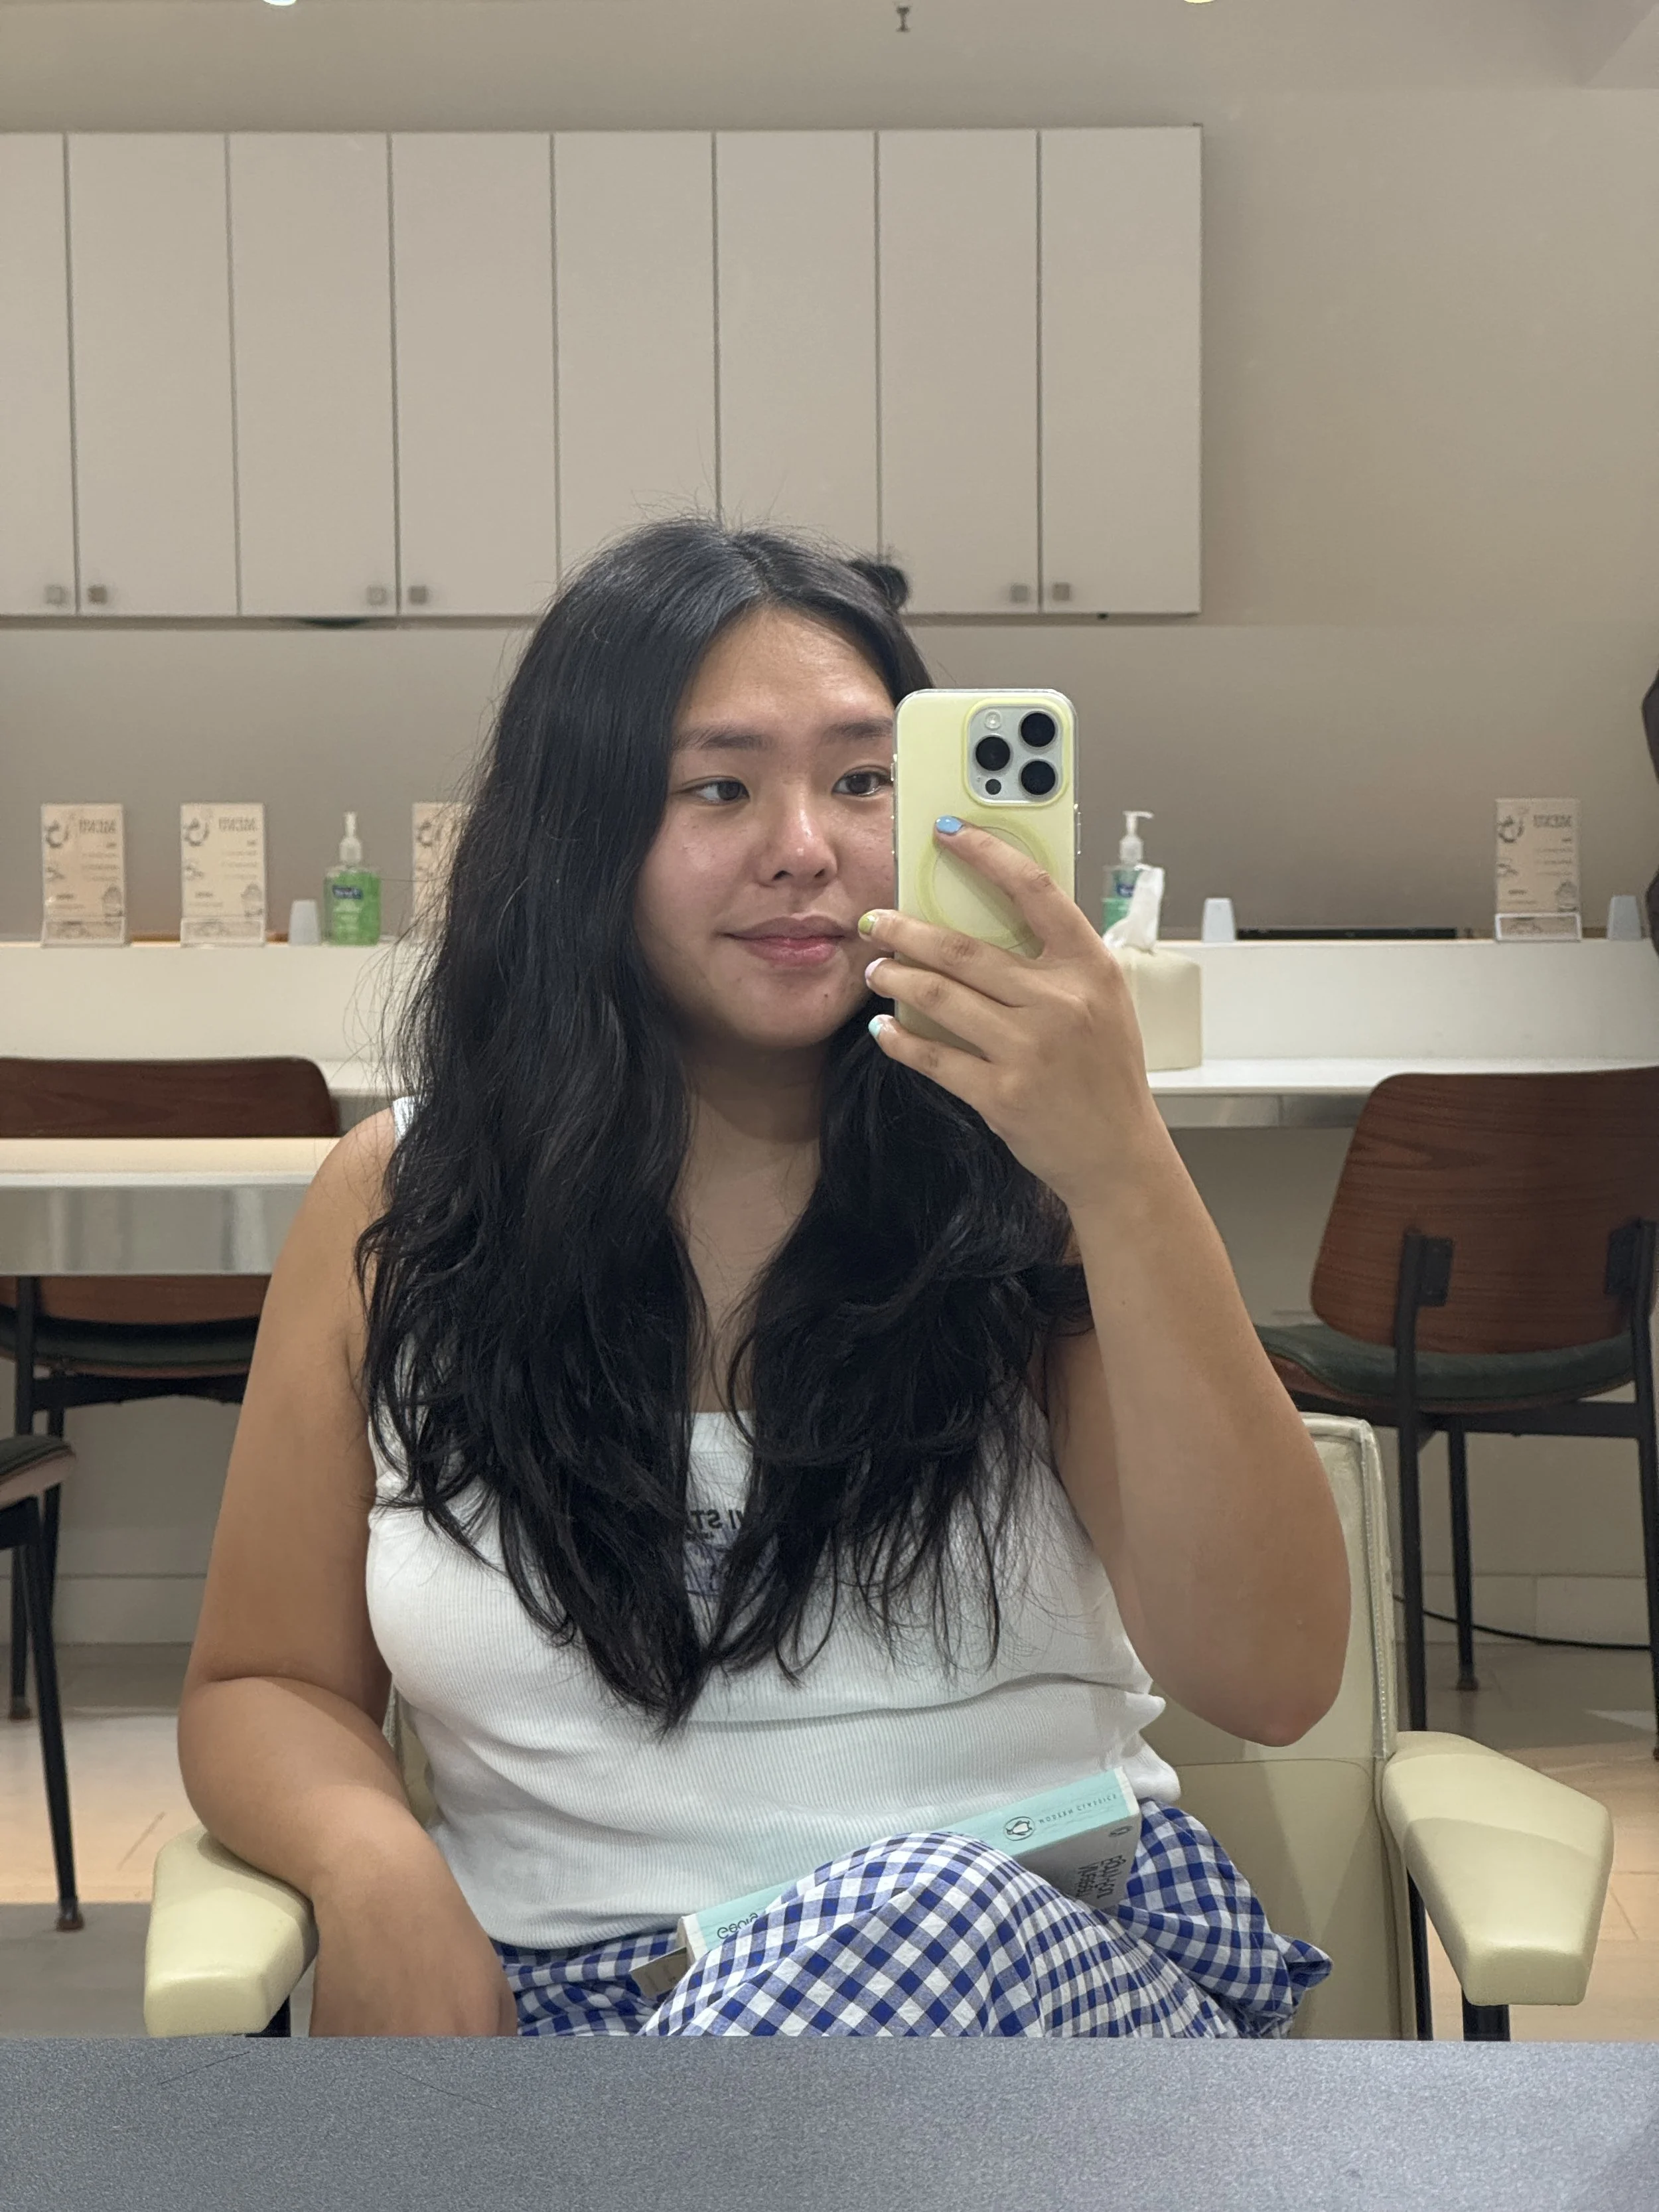
It's been almost a year since my first perm, and my hair has changed a lot. I cut a bunch of it off for some change, the curls have turned into soft waves, and it's been a really fun year of playing with my hair. This is what it looks like now!


Was it Worth it?
Yes, it was 100% worth it. I had so much fun parading around as a curly-haired girl this year. But if you asked me if I would do it again, I fear I would have to say no. I loved what it was, but the upkeep and the way I had to suddenly understand how to style it in humidity was a learning curve I just don't want to commit to. I'm currently growing it out now, and it's hilarious to see how the top half of my head is all straight hair, and the bottom all curly. You just have to be committed to what it's going to be!
Best Hair Products for the Perm
I became somewhat of a curly hair, permed hair product expert during this era. Here are some of my favorites that made every bad hair day a good one!
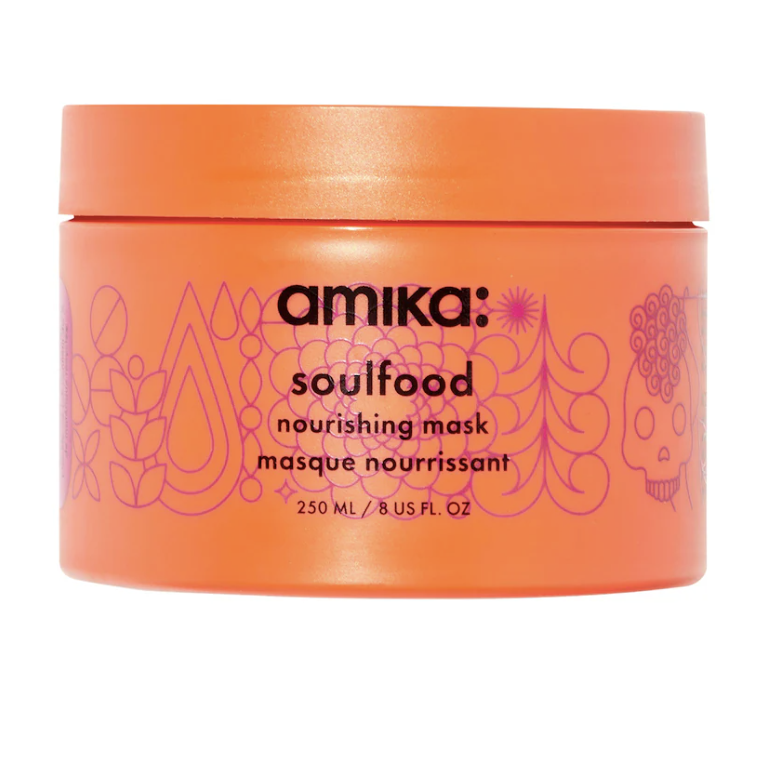
My absolute favorite hair mask! With permed hair, my hair felt sometimes drier than usual. This helped bring it an extra boost of moisture it needed.
Price: $36

Loved using this leave-in conditioner right after I showered. It helped bring some moisture back to my curls and I love the scent!
Price: $30
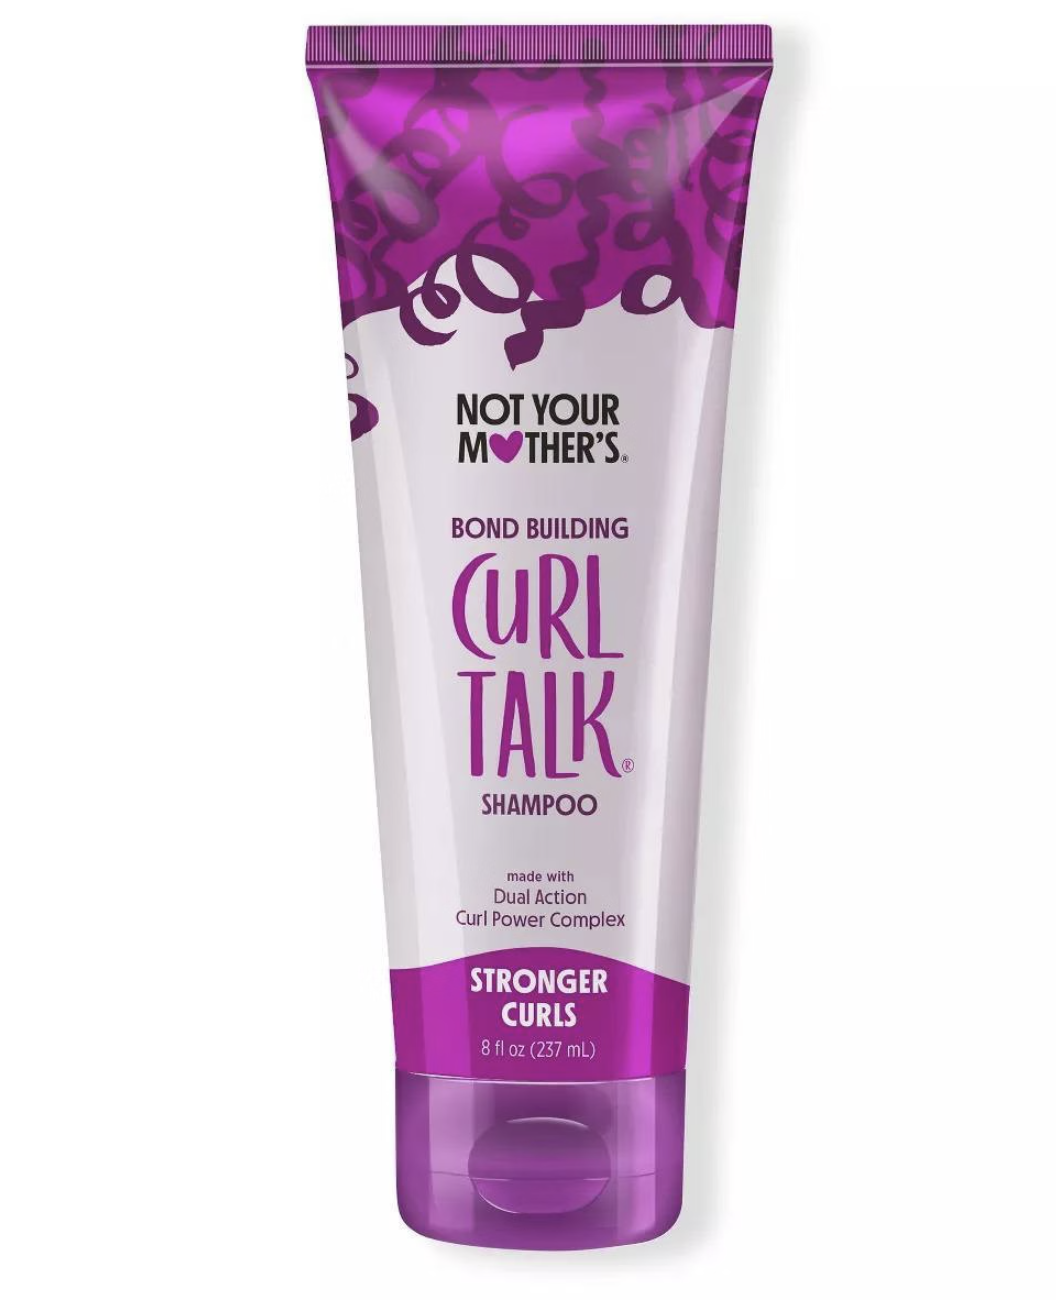
My favorite shampoo! Also so affordable.
Price: $8.99
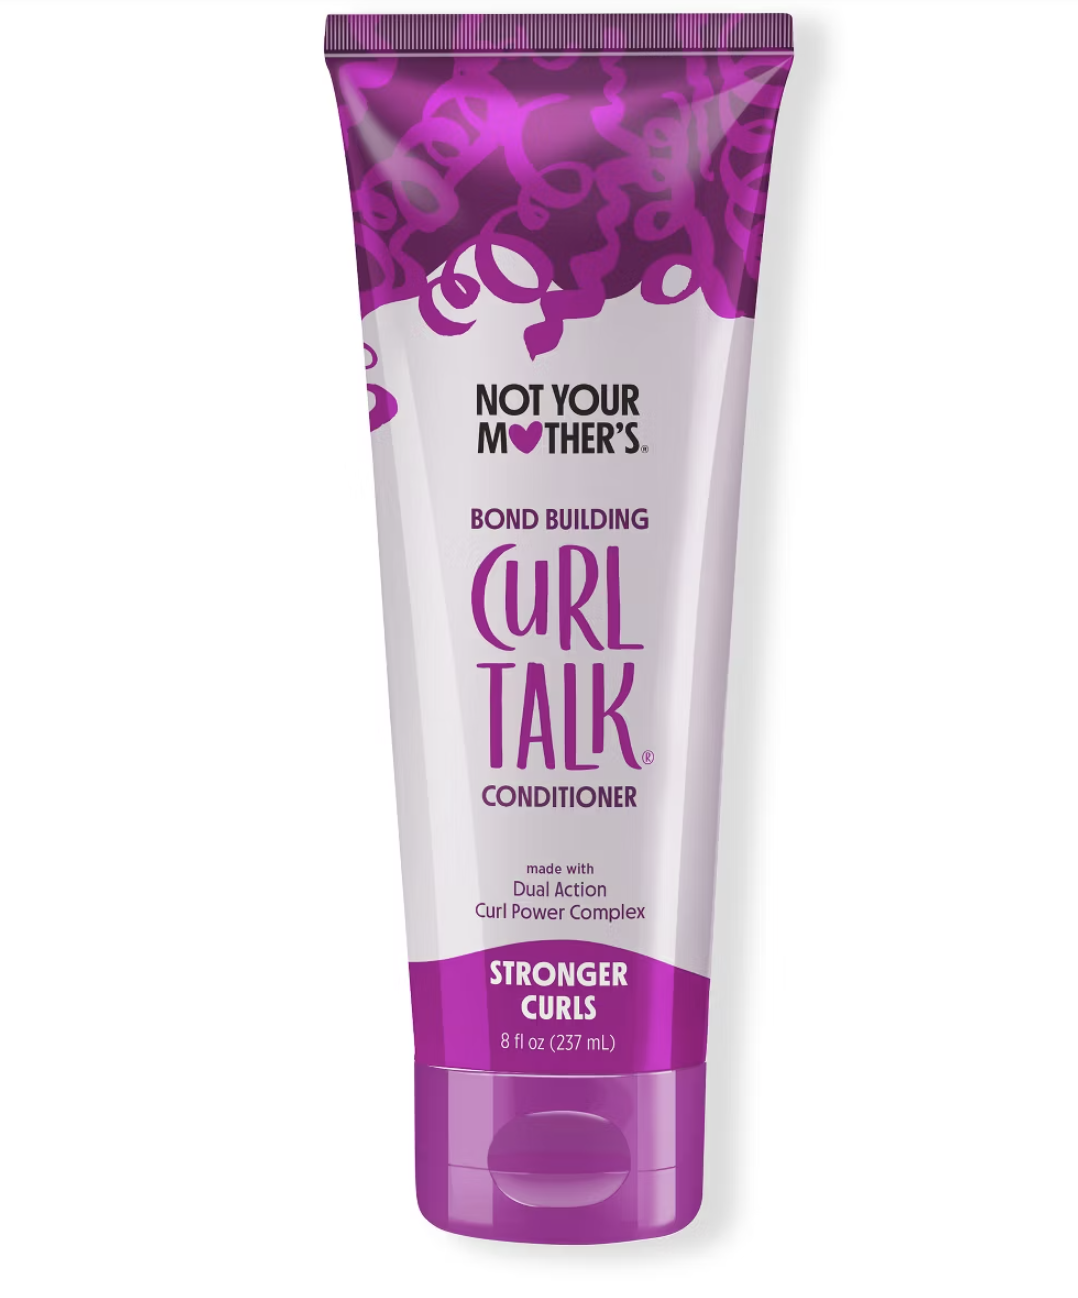
My favorite conditioner! Again, so affordable.
Price: $8.99
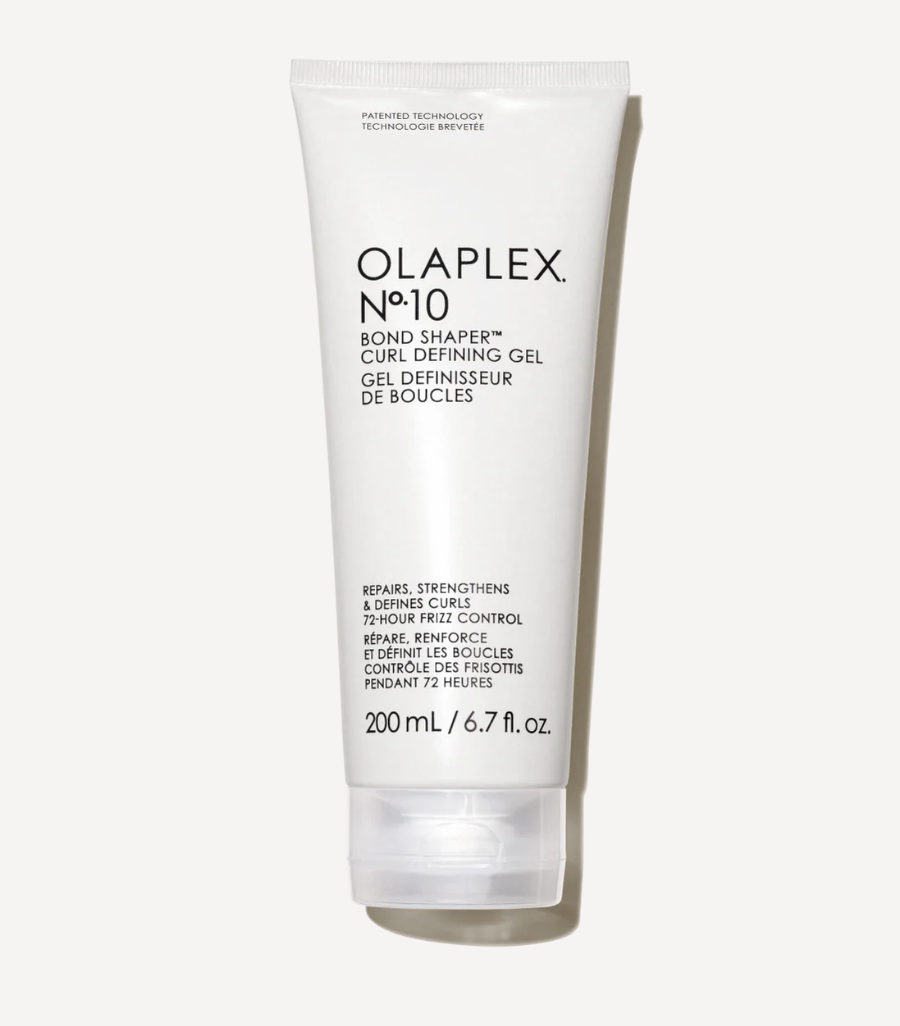
The best curl defining gel! I loved this one so much, it helped get the best curls post-shower.
Price: $32
If you're thinking about getting a digital perm in New York City, I hope this breakdown is helpful.